Photography For Realtors – Prepare Home for Stunning Photos
As a real estate agent you know first impressions matter. In today’s digital age buyers often make their first impression based on online listings. That’s why photography for realtors is key to showcasing properties in the best light. But how do you get a house ready for its close up? Let’s get into the must do’s to prepare a property for amazing real estate photography.

The first step in getting a house ready for photography for realtors is to declutter and depersonalize the space. This is key to creating an inviting atmosphere where buyers can imagine themselves in the home.
Pack away family photos, personal mementos and any items that will distract from the home’s features. Remember you’re selling a lifestyle not the current occupants lives.
Kitchen counters, bathroom vanities and coffee tables should be mostly clear. A few strategically placed decorative items can add warmth but less is more when it comes to photography for realtors.
Even if these areas aren’t the main focus they may be photographed to show storage. Neatly arrange items and consider removing some to make these areas look more spacious.
A clean home photographs beautifully and looks like a well taken care of property. Here’s what to focus on:
Clean these thoroughly so they sparkle in photos. Streaks and smudges will be super noticeable in professional photography.
Vacuum carpets, mop hard floors and consider professional cleaning for heavily stained areas.
Wipe down all surfaces including often overlooked areas like ceiling fans, light fixtures and baseboards.
The exterior of the home is often the first photo buyers see so it’s key in photography for realtors. Here’s how to make it shine:
Mow the lawn, trim bushes and remove dead plants. Consider adding some colorful flowers for a pop of color.
Power wash the siding, driveway and walkways. Make sure windows are clean from the outside as well.
Add a new welcome mat and consider a couple of potted plants to make an inviting entryway.

Lighting is crucial for photography for realtors. Here’s how to get your property lit:
Open all curtains and blinds to let in as much natural light as possible. Clean the windows to let more light in.
Replace any blown bulbs and make sure all lights work. Consider using higher wattage bulbs temporarily for brighter photos.
Use bulbs with the same color temperature throughout the house for a cohesive look in photos.
Staging is a big part of photography for realtors. It helps create a cohesive look and shows each room’s potential. Here’s what to do:
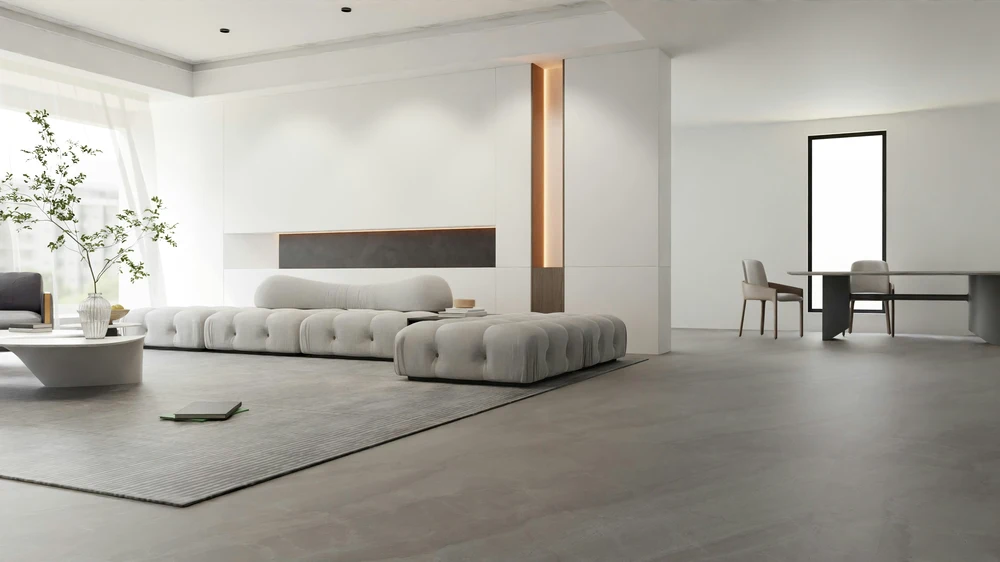
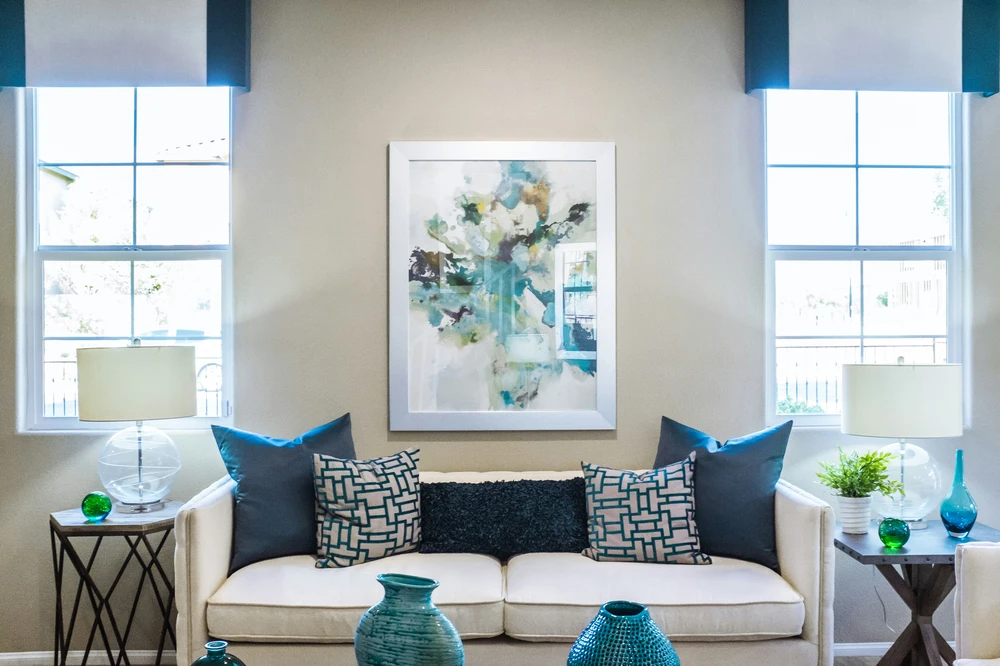
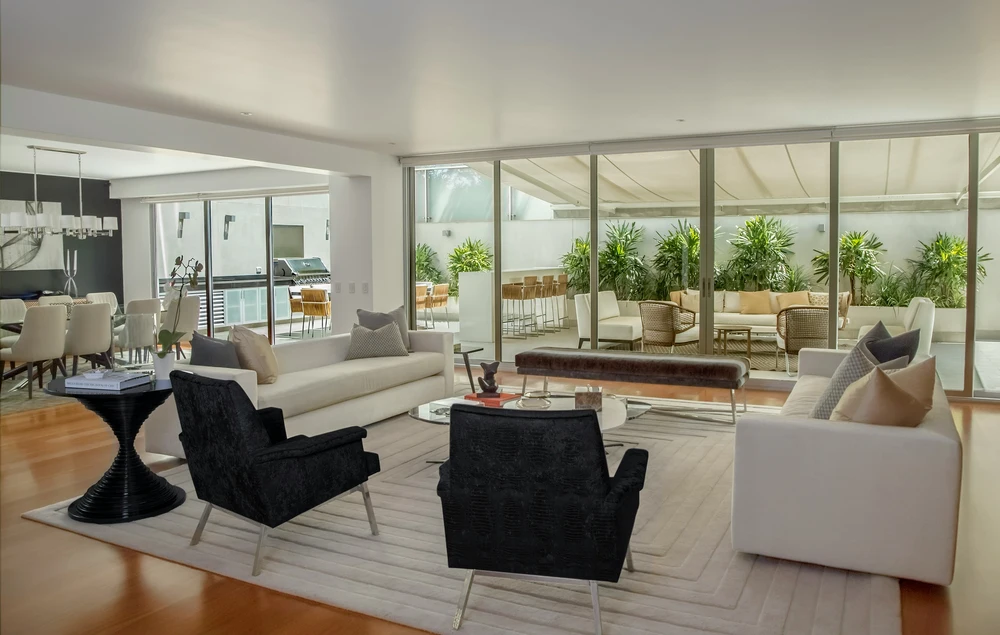
Arrange furniture to create space and flow. Add some colorful throw pillows or a cozy blanket.
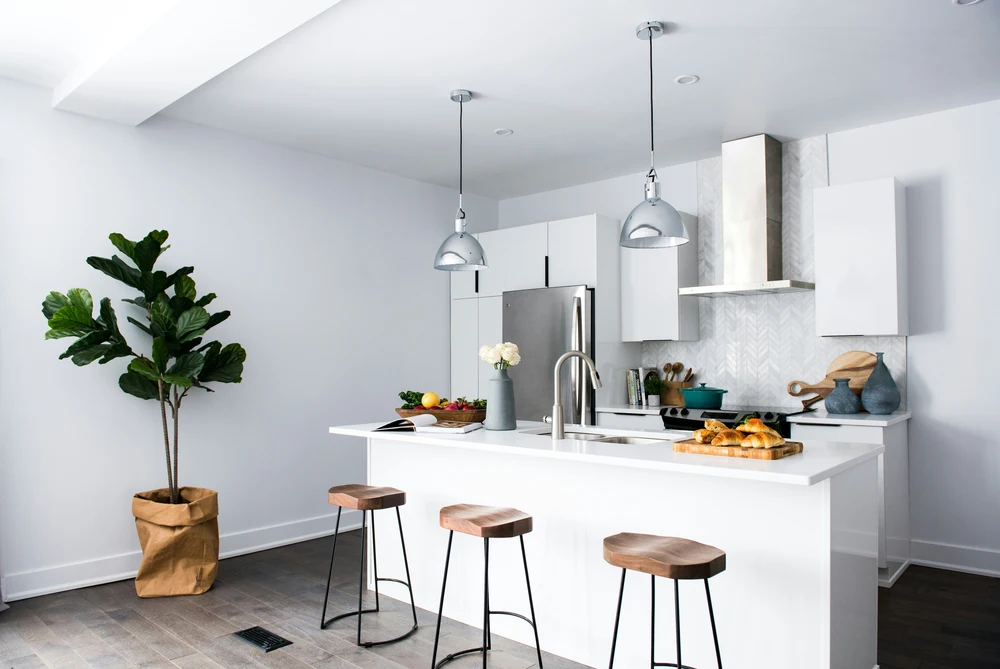
Clear counters of appliances, leave only a few decorative items. Consider a bowl of fruit or a vase of flowers for a pop of color.
Make the beds with crisp, neutral linens. Remove everything from nightstands except a lamp and maybe a book.
Remove all personal care items. Hang fresh towels and consider adding a plant or candle.
The little things can make a big difference in photography for realtors. Here are some often overlooked areas to focus on:
Tuck away visible cords from electronics and lamps.
Clear refrigerators and bulletin boards of personal items and notes.
Make sure artwork is level, lampshades are straight and curtains are hung evenly.

Different types of photography for realtors may require extra prep:
Make sure the roof is in good condition and the yard is tidy. Remove any eyesores that might be visible from above.
Test exterior lighting to make sure all fixtures work. Consider adding landscape lighting to highlight features.
Make sure each room is staged consistently and pathways are clear for smooth camera movement.
Let the photographer know about any special or valuable features of the property that should be showcased.
If you have specific ideas about which angles work best for each room, share them with the photographer.
Decide on the order of the rooms to be photographed to make the most of the time and optimal lighting.
On the day of the shoot, there are a few last-minute things to do:
Include lamps, under-cabinet lighting and even the oven light to create a warm ambiance.
This allows for better sight lines in photos and creates a sense of flow.
Ensure the driveway and street in front of the house are clear of vehicles.
Make arrangements for pets to be out of the house during the shoot to avoid any unwanted photobombs.

After the photography for realtors is complete:
Carefully go through the images and provide feedback to the photographer if any reshoots are needed.
Try to keep the property in the same condition for potential in-person viewings. Reality should match the photos as much as possible.
Strategically use the best photos across all marketing channels: MLS, social media and print materials.
In summary, getting a house ready for photography for realtors is a critical part of the selling process. Follow these guidelines and your listings will stand out in a competitive market. Remember, the goal is to create images that not only showcase the property’s best features but also an emotional response from potential buyers. With proper preparation and attention to detail your photography for realtors will turn listings into sales, making your real estate business thrive in Toronto and beyond.


